What Size Wire for Campervan Puck Lights?
Your ultimate guide to safe and efficient cabling.
Have you ever wondered what size cable you need to make your RV shine like a starry sky? I experienced it! Let me tell you: Choosing the right cable for good-looking puck lighting isn’t just about making it bright.
It’s all about keeping your rolling home safe and comfortable. You’re not alone. We all want our RV to feel right, and no one likes a flickering light or, worse, a faulty wiring.
I’ve gone through the details and done the homework so you don’t have to. Whether you are a DIY enthusiast or a seasoned traveler, this article is your trusted guide. It’s like having a friend who has been through it all and come back with nuggets of wisdom.
So buckle up! Together we will delve into the world of wires to find the perfect size for the beautiful lamps in your house on wheels. What Size Wire for Campervan Puck Lights?
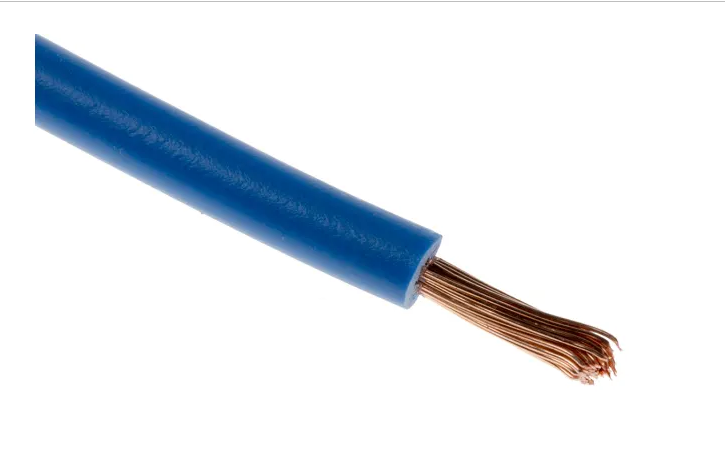
What size wire are Campervan puck lights?
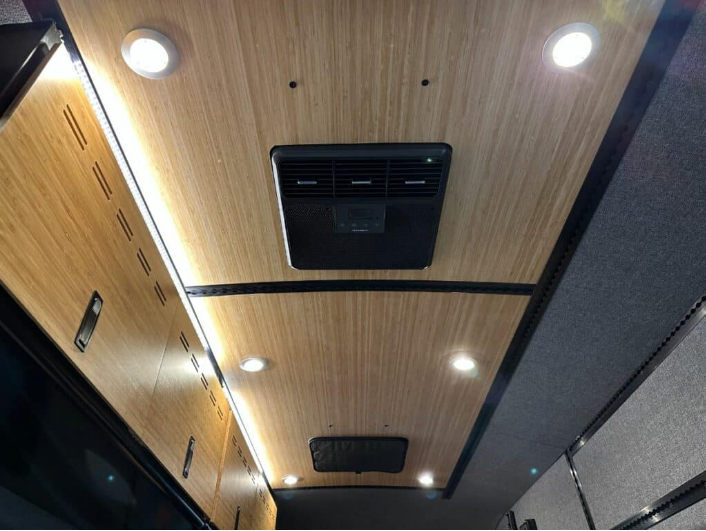
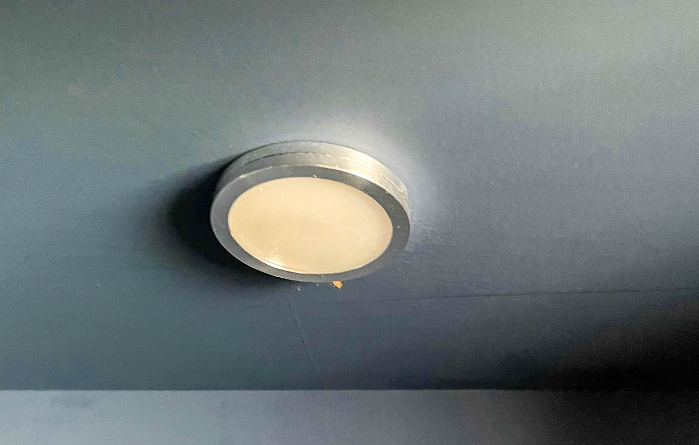
The recommended wire size for RV puck lights is 18 gauge. This type of cable is robust enough to handle the electrical load required for lighting, but also thin enough to be easily hidden and routed throughout the interior of your RV.
In addition, by using 18-gauge wire, you ensure that you meet safety standards and minimize potential fire hazards. It is important to choose the correct cable size for your specific lighting needs to ensure proper functionality and safety during your RV adventures. Have fun camping. What Size Wire for Campervan Puck Lights?
Determining the Right Size for Campervan Puck Lighting.
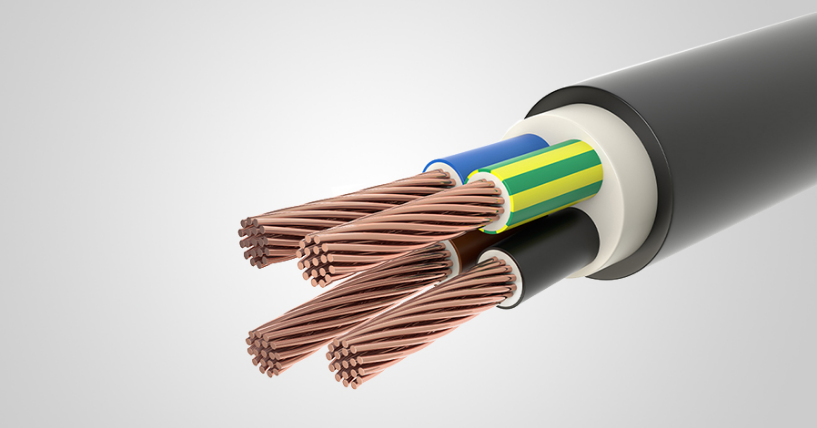
When equipping a motorhome with puck lights, choosing the right wire size is crucial for both safety and functionality. It’s all about balance. If the cables are too thin, there is a risk that the wires will overheat. If the cables are too thick and you’re wasting space and money. It’s like choosing the perfect shoes for a walk. The fit has to be just right.
First, think of your motorhome as your cozy house on wheels. You want it to be bright and inviting after a long day of adventure. To easily create this atmosphere, first look at the overall performance of your puck lights.
This will give you a clear idea of the electrical load your system is under. If it feels like a puzzle, think of each light as a piece that contributes to a bigger picture of your RV’s energy needs.
- For lower loads, thinner threads may be sufficient.
2. Heavier loads require thicker wires to handle more power without breaking a sweat.
Think of wires as highways for electrons. When there’s too much traffic (current), you don’t want congestion (overheating). So get the manual or talk to an experienced friend who knows electricity inside and out.
With their insights and some careful calculations, you can pinpoint the sweet spot. The perfect display for your sparkling RV stars. The key to making your RV feel like home is to make sure every light shines without flickering or fading. Calculate the current and voltage drop in RV lines.
When preparing your Campervan for your next adventure.
When preparing your RV for your next adventure, proper electrical installation is critical. What matters is that your cables can handle the electrical current, that’s amps to you and that they power your devices and things efficiently without losing too much current, which is called voltage drop.
Understanding these technical details can be like putting puzzle pieces together to ensure your RV life stays lit and filled.
First things first amplifiers. This term may sound complicated, but think of it as a pathway for electricity. If the road is too narrow (read thin cable), traffic jams (too much current) can cause delays or, even worse, accidents (overheating).
So you need to adjust the width of your “cableway” to the amount of electrical “traffic” it is exposed to. Imagine plugging in a mini fridge; You need a wire thick enough to handle the amplifier hunger of the fridge without breaking a sweat. What Size Wire for Campervan Puck Lights?
Now let’s talk about voltage drop.
Picture this: You run water through a hose to your flower bed in the back of your van. If the hose is not long or wide enough, not all the water can drain out easily, some pressure will be lost along the way.
The situation is similar with current over distance in wires. If there is resistance (e.g. through a thinner wire) some of the current does not reach its destination. This means less light and less power for your devices unless you plan carefully.
• Select the correct wire size based on expected current.
• Keep the wires as short as possible to minimize the droppage of voltage.
• Use high quality connectors to maintain good current.
Paying attention to these details when setting up your RV’s wiring system will ensure that all onboard amenities work smoothly and prevent electrical accidents. And that means more time enjoying the breathtaking sunsets and less time worrying about backups.
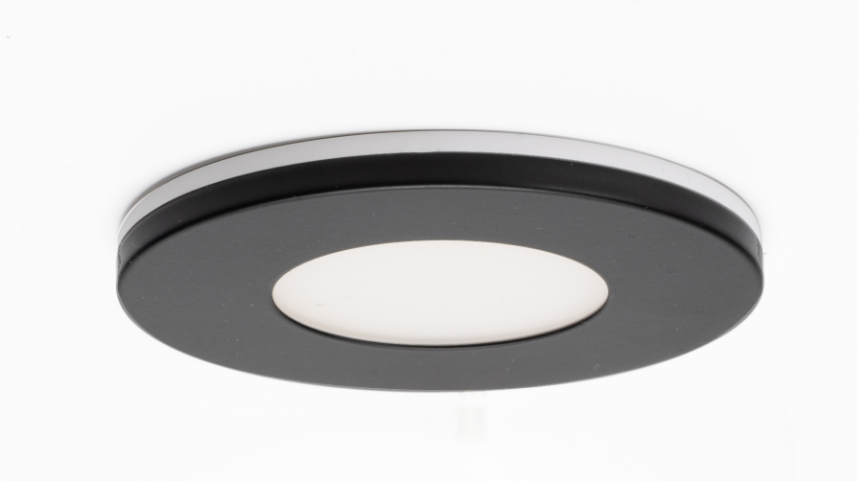
Electrical Safety Best Practices for Campervan Puck Lighting.
When you get into your RV, the warm glow of puck lighting can really make the space feel like home. But it’s not just about creating the perfect atmosphere. Electrical safety should be your top priority. Let’s see how you can keep everything safe and cozy with these little lights. What Size Wire for Campervan Puck Lights?
Correct installation.
• Above all, always make sure your puck lights are installed by someone who knows what he or she is doing. If you know cables, great! If not, you’re doing nothing wrong: call in a professional.
It is critical that the wires are connected properly and securely to prevent sparks from flying (and not in a good way). And remember, Insulation isn’t just about keeping you warm, it’s also about keeping cables safe.
• Think carefully about the placement of your lights. You want to avoid areas that are exposed to moisture or where objects can collide. Water and electricity don’t mix and we don’t want your lighting system to be accidentally damaged.
Maintenance checks.
Your relationship with puck lights doesn’t end after installation: you have to keep an eye on them. Check regularly for signs of wear or loose connections. Even the smallest argument can lead to big problems later.
And while we’re on the subject, let’s talk about lights. Choose LED options as they stay cooler and reduce the risk of overheating, which is something you definitely want to avoid in your cozy corner on wheels. Energy management
• Last but not least: Energy conservation is crucial. These lights should not be left on indefinitely; It will drain your battery and can be a potential fire hazard if left unattended for too long. Investing in a quality switch, preferably one that you can dim, makes sense both to control power consumption and to create the right atmosphere for late-night reading or chatting.
• A good trick is to sync your lights with a timer or smart system so that they automatically turn off when you fall asleep while reading in the soft light.
In short, lighting pucks in RVs is like spreading magic dust, but must be handled with care. Through proper installation, routine checks and conscious energy use, these little circles of joy will ensure a safe glow night after night.
Tips for installing puck lights and choosing cables in a motor home.
Installing puck lights in your RV doesn’t have to be complicated. First, you want to find the best places where the light is most needed. Think the kitchen, reading nook or cozy nook. Once you know that, it’s all about getting those little round beads in the right place.
Peel off the back of the tape and firmly press it onto the clean surface. Some people prefer to bolt them on for extra support, which is totally fine, if you’re okay with doing a little extra work.
Choosing the right cables.
• With cables, it’s like choosing the perfect accessory it has to fit! The correct thread size makes the difference. If it’s too thin, you can get a flickering light show. Too thick and you’ll waste space and money.
• Remember that longer runs require thicker wires to keep everything bright and shiny without overheating.
• A quick chat with other bus builders or a look at an online guide can save you wiring problems. Create connections that last
Once you’ve chosen your puck’s lights and cables, it’s important to make sure they stay connected. Clamp these connectors together tightly and wrap them with electrical tape or heat shrink tubing to ensure they stay tight and won’t come loose even when driving on bumpy back roads. A good connection means the lights stay on, so you can enjoy your adventure without unexpected darkness.